How to Increase the Level of Photo-realism in Your Renders
A growing number of businesses are now eschewing traditional photography in favour of photorealistic renders, which deliver a number of logistic and cost advantages in the modern age.
Not everything that shines is always golden, however, and leveraging rendering technology to drive your advertising campaigns is no exception to this rule. It is crucial that you have both the knowledge and technical proficiency to execute photorealistic and high quality renders, for example, otherwise you will undermine your marketing efforts and potentially confuse your product proposition.
So, what practical steps can you take to enhance the quality of your images and the level of photorealism that exists in each individual render? Here are three to help you on your way!
Use Bevelling to Refine the Finer Details of Your Imagery
If you are going to follow the path of photorealism, you need to ensure that you pay attention to the finer details of your imagery. After all, it is these small and seemingly insignificant elements that will determine the quality of your images and the impact that they have on consumers.
In this respect, bevelling is an important technique that smooths edges and replicates the roundness that often exists where two opposing surfaces meet. It therefore plays a crucial role in bringing out detail, while creating authentic imagery that can effectively drive a relatable marketing proposition.
Utilise IES Light Profiles for Photometric Lighting
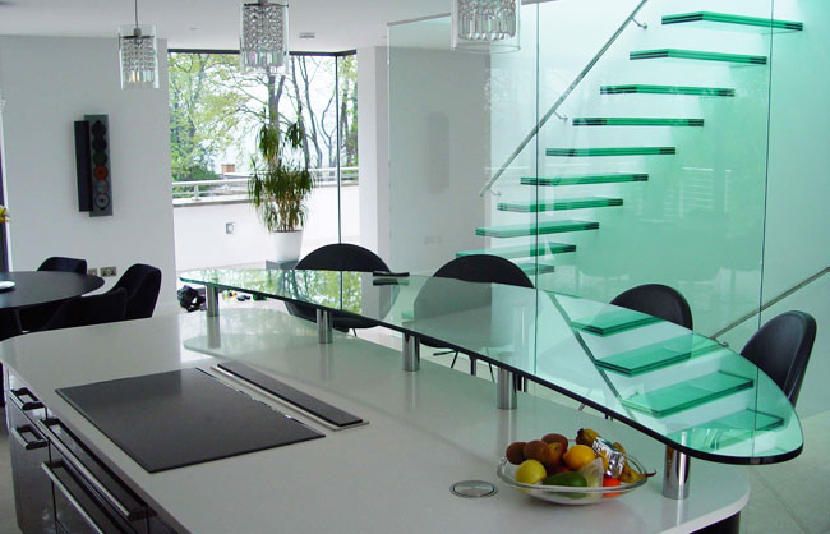
Architectural visualisation remains a key application for photorealistic renders, which places a huge focus on the replication of accurate light sources and shades. While we are expecting considerable developments in the field of photorealistic lighting in the years to come, however, for now 3D artists are using IES light profiles to bring their renders to life.
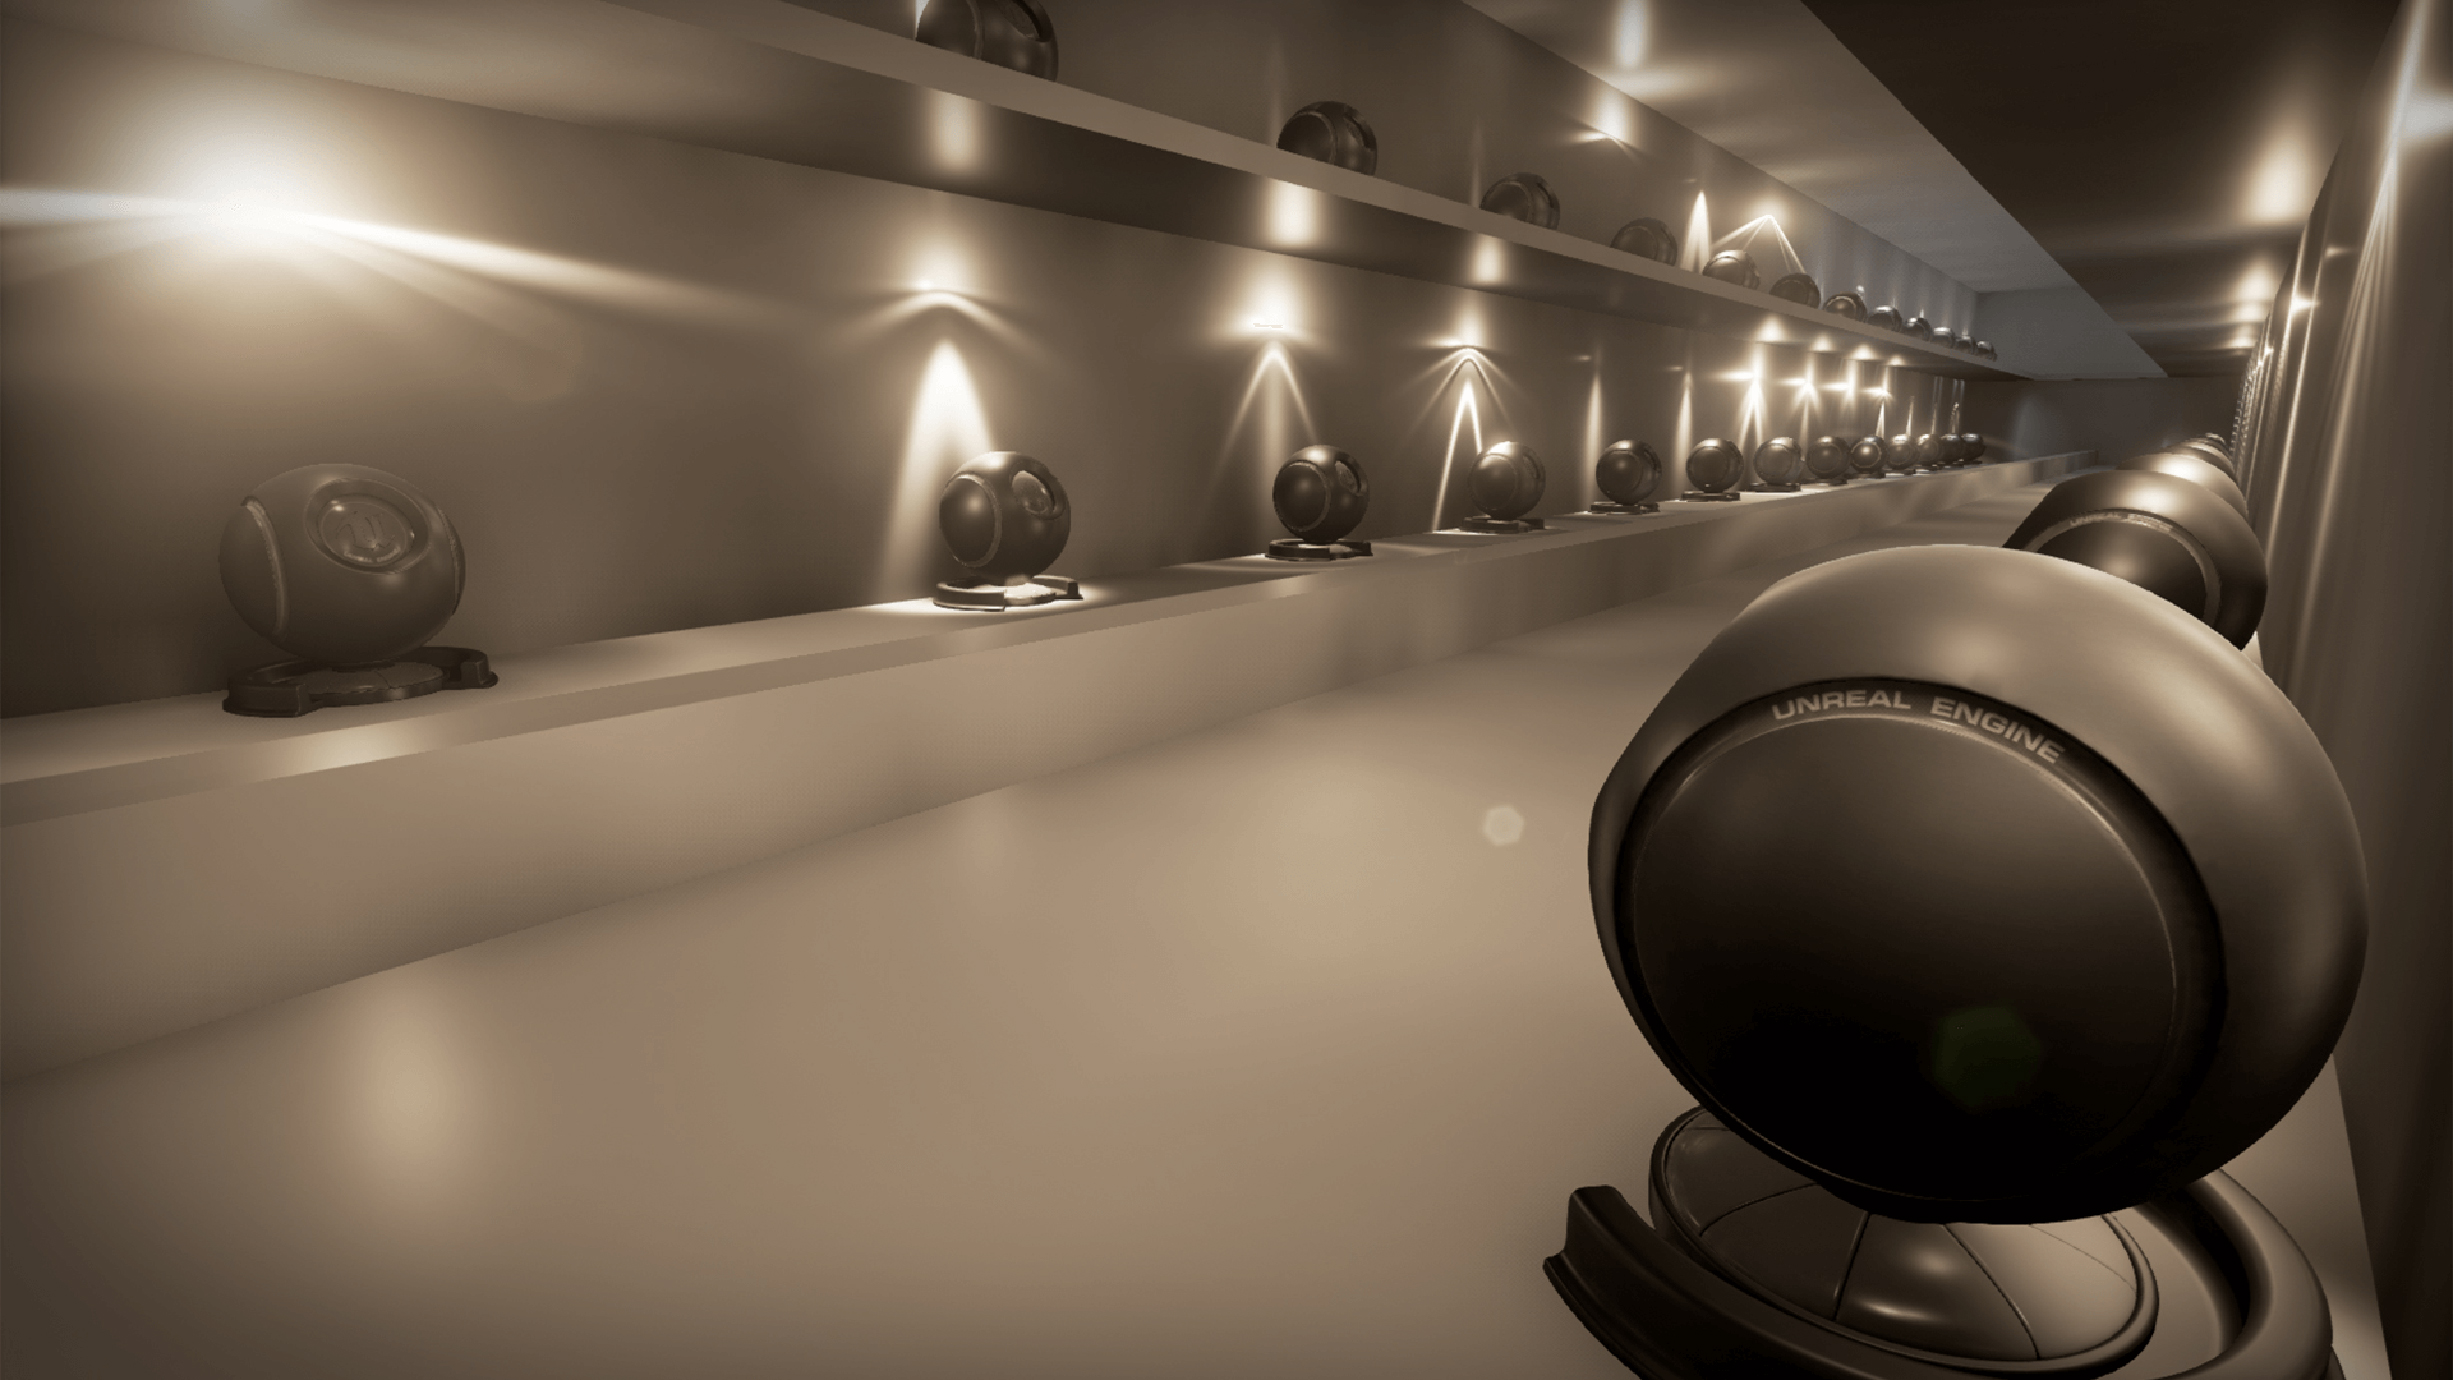
These files provide an accessible solution that strive to replicate real-world light sources, while they include photometric data concerning shape, shades and luminance. As a result of this, they have become a core feature of most rendering software packages, so understanding their function and knowing how to use them is critical if you are achieve your visual objectives.
Be sure to check that you have access to IES light profiles, however, as they are not a standard feature across all software providers.
Apply Depth of Field While Using Your Primary App
Let’s face facts; the chances are that you are using depth of field to isolate the focal point of your image and enhance the composition of the render. While this is crucial to the creation of a photorealistic render, however, applying depth of field in post (using an application such as Photoshop) causes you to lose some control over the type of effect that you are looking to produce.
So why do render artists apply depth of field in post? The truth is that this is a far quicker process, while it places less of a strain on business servers and allows brands to comply with tighter deadlines. The pursuit of quantity should never come at the expense of quality, however, particularly when you have invested in high-end software to generate photorealistic images.
With this in mind, you are far better served by applying depth of field while using your primary rendering software (where possible) and retaining full control of how your focal point interacts with its surrounding environment.
If you are new to the field of photorealistic renders but would like to know more about how such images can help your business, contact one of the 3drenders.co.uk team today to find out more!


